Empty walls can make even the nicest interior feel unfinished or a bit cold. Still, a lot of people put off hanging pictures and photos because they’re afraid of making a mistake – crooked frames, too many holes, or just not getting that perfect look. But here’s the truth: even a slightly wonky picture brings more personality to a room than a completely bare wall. So don’t stress – it’s easier than you think!
How to Choose the Right Artwork?
Before you grab a hammer, take a moment to think about the vibe you want to create. Should your pictures make a bold statement or simply blend into the background? Do you want something eye-catching and graphic, or soft and calming, like photography or abstract art?
It’s great if the colors and themes complement your space, but don’t get too caught up in matching everything perfectly – sometimes a bit of contrast adds that extra spark.
Frames and Passe-partout – More Than Just Decoration
A good frame isn’t just there to hold the picture – it actually shapes how the artwork feels. The best frames highlight the piece itself, not just match your furniture (although that can work too!). Wood type, metal finish, color, and width – they all make a difference, whether you’re framing a pricey lithograph or a simple print.
Passe-partout (that mat border inside the frame) plays a big role too. A high-quality, acid-free mat helps protect the artwork and can add space and breathing room around the image. Fun fact: the edges of passe-partout mats are cut at an angle to help light fall more evenly and to keep the picture from touching the glass. Small detail, big impact!
Picture Hanging Basics
-
Above a sofa, bed, or table, your artwork shouldn’t sit right on top of the furniture – aim for it to cover about two-thirds of the wall width for good balance.
-
One of the most common mistakes? Hanging pictures way too high or too low. A handy rule of thumb is the 145 cm rule – placing the center of the artwork about 145 cm from the floor. It’s a gallery standard and works surprisingly well at home.
-
Light frames keep the focus on the artwork, while dark frames add contrast – perfect for black-and-white photos.

Layout Ideas – It’s All About the Composition
You don’t need to space everything evenly or line pictures up in a row (unless that’s your thing!). There are lots of fun ways to create a gallery wall with personality. Here are a few ideas:
-
Center line: Line up the center of each frame along one horizontal line.

-
Baseline: All the frames sit with their bottom edges in line.

-
Top line: Same idea, but aligning the top edges instead.

-
Soft wave: Create a gentle, wavy line with frames at different heights to break up a grid-like feel.

-
Diagonal flow: Guide the eye upward with frames positioned along a rising line.

-
Vertical line: Frames arranged around a central vertical axis – perfect for narrow walls like hallways or between doors.

Test Before You Commit
Before you make a single hole, lay your frames out on the floor and experiment with different layouts. Or, for extra precision, cut paper templates the size of your frames and tape them to the wall. It’s a foolproof way to see the whole composition before you start hammering.
Pro Tips
-
Place larger, heavier-looking pictures on the left side – most people naturally scan from left to right.
-
Above a sofa, keep the bottom of the frame about 15-30 cm above the backrest.
-
In dining areas, hang pictures slightly lower so they can be enjoyed while sitting.
Mixing Different Frames – Yes, Please!
There’s no need to match every frame perfectly. Mixing materials, colors, and styles adds charm and character. If you prefer a more cohesive look, stick to one color family (like warm wood tones or sleek black and white) or use matching passe-partout mats to tie it all together.
Staircase Galleries & Corner Art
Staircases are prime spots for a gallery wall. Follow the angle of the stairs to create a natural flow that fits the space. And don’t forget about corners – a few well-placed pictures around a reading nook or home office corner can visually define the space and make it feel extra cozy.
Creative Ideas
-
Want affordable art? Flip through fashion or lifestyle magazines with high-quality paper. You’d be surprised how great some editorial photos look once framed.
-
Start with your absolute favorite piece, then build the gallery around it. That way, the whole wall will feel curated and personal.
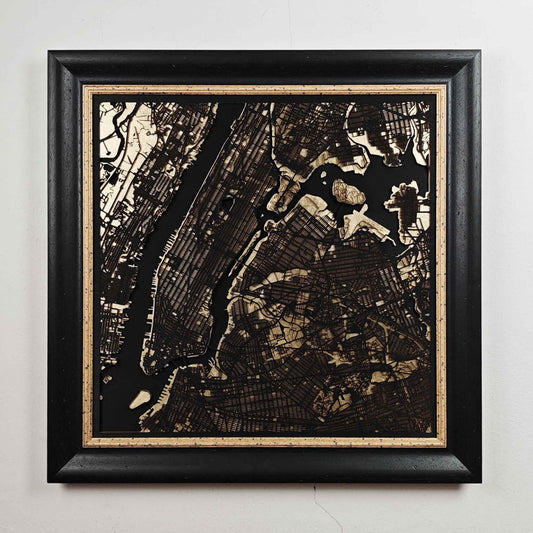
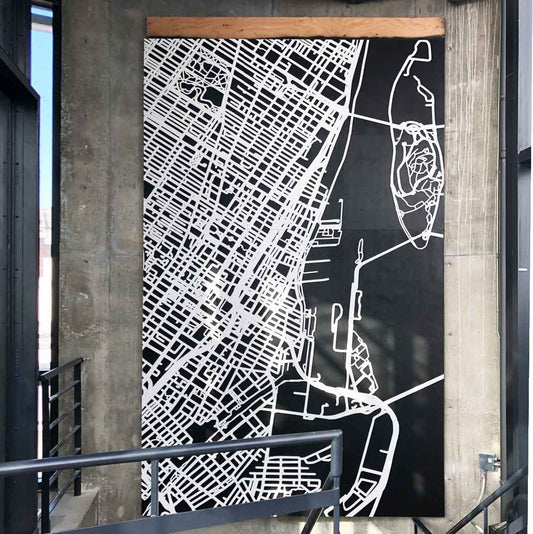
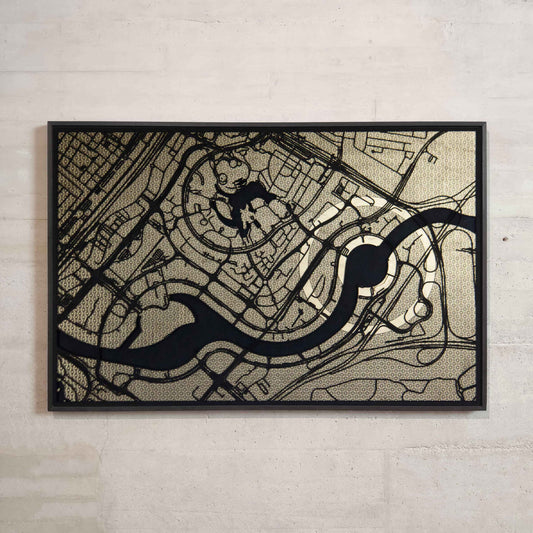
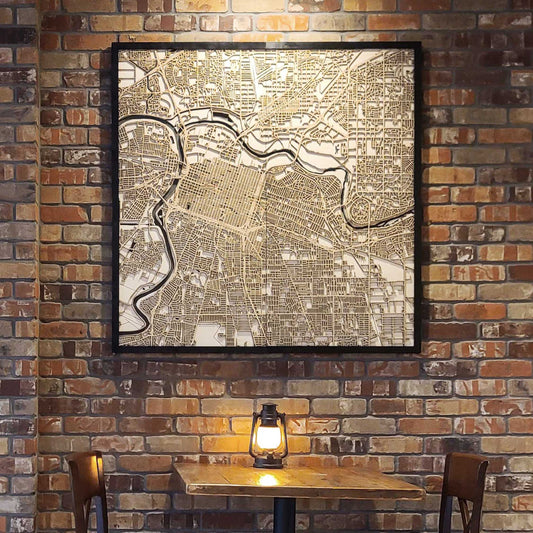
- Consider adding a wooden map as a statement piece. It brings warmth, texture, and a touch of adventure to your decor while making your space feel unique and worldly.


