
Are you ready to dive into the world of city map art? I'm here to guide you through the process of creating your very own masterpiece.
Table of Contents
-
Choosing Your City and Map Style
-
Finding the Map
-
Transferring the Map to Paper or Canvas
-
Transferring the Map to Graphic
-
Transferring the Map to 3D Art
-
Finalizing Your City Map Art
1. Choosing Your City and Map Style
When selecting a city for your map art, consider the following questions to guide your decision-making process:
- What is your personal connection to the city?
- How does the city's layout appeal to you?
- What landmarks or features do you want to include?
Consider the following questions to help you pinpoint the perfect style for your masterpiece:
- Do you prefer a minimalist design or a highly detailed map?
- What is your preferred color palette?
- Do you want a modern or vintage look?
To find inspiration and gather ideas, explore these resources:
- Pinterest: This platform is a goldmine for map styles, ranging from watercolor maps to geometric designs.
- Instagram: Search for hashtags like #mapart, #cartography, and #citymaps to discover what other artists are creating.
- Art and design blogs: Search for design websites that often feature map-related art and design.
- Historical archives: Check out online archives like the Library of Congress or the David Rumsey Map Collection for vintage maps.
- AI-generated graphics: Explore websites like Midjourney, Stable Diffusion or other.
By asking yourself these questions and exploring various resources, you'll gain a clearer understanding of your artistic preferences and find the perfect city and map style for your project.

2. Finding the Map
There are several ways to find your city map:
- Physical maps: Hit up your local bookstore or library.
- Graphic files: Use your Google skills to search for high-resolution images.
- Vector maps: For a more customizable option, download map from websites like Vecteezy or Snazzy maps

3. Transferring the Map to Paper or Canvas
There are several methods for transferring your map design, depending on your chosen materials and personal preferences:
- Tracing with transfer paper or carbon paper.
- Tracing from a computer screen, tv screen or even smartphone. Remember to not push too hard to not damage the screen.
- Projector method: If you have access to a projector, you can project your map directly onto the canvas or paper.
Keep these tips in mind for a successful tracing process:
- Secure the map: Use tape, clips, or paperweights to keep your map in place while you trace.
- Trace in sections: Break the map into sections and work on one area at a time. This will help you maintain focus.

4. Transferring the Map to Graphic
Transferring your city map to a digital graphic offers countless possibilities for customization and experimentation with various styles.
Selecting the right software for your project is essential. Here are some popular options for creating digital map art: Adobe Illustrator, Adobe Photoshop, Inkscape or Canva.
When transferring your map to a graphic, consider experimenting with different styles and techniques to enhance your design. Here are some ideas to inspire your digital map art:
- Color palettes: Play around with various color schemes, such as monochromatic, complementary, or even bold and vibrant colors. You can also try using color to highlight specific areas or landmarks within your map.
- Line styles: Experiment with different line styles, such as dashed, dotted, or varying line weights. Different line styles can help distinguish between streets, highways, and other features on your map.
- Textures and patterns: Add visual interest to your map by incorporating textures or patterns. For example, use a hatched pattern to represent parks, or add a subtle paper texture to create a vintage look.
- Typography: Choose unique and stylish fonts for street names, landmarks, or other text elements within your map. Don't be afraid to play with font size, weight, or color to create emphasis and hierarchy in your design.

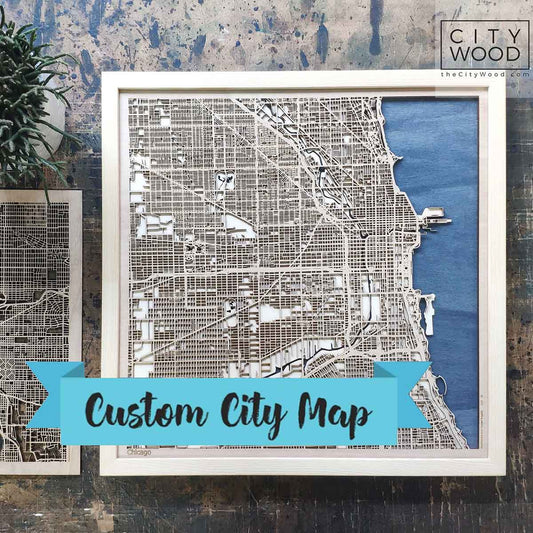
5. Transferring the Map to 3D Art
Creating 3D city map art is an exciting and innovative way to showcase your chosen cityscape. This form of map art adds depth and dimension, making it a captivating conversation piece.
Selecting the appropriate material for your 3D map art is crucial. Each material has its unique properties and aesthetics, so consider the following options:
- Paper or cardstock: Paper-based 3D maps are an affordable and accessible option. They can be easily cut and layered to create elevation and depth. Use thicker cardstock for added durability and structure.
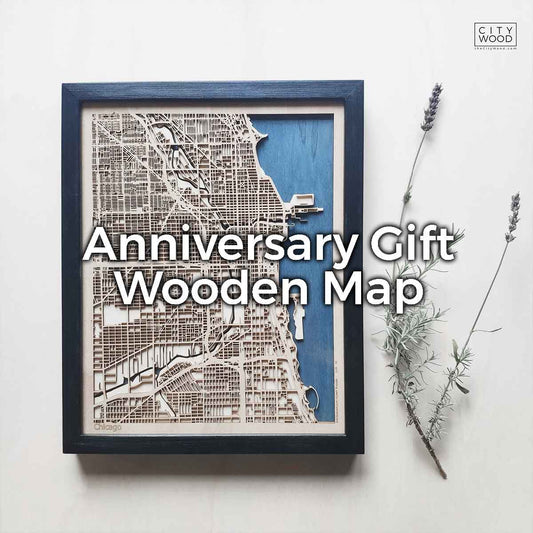
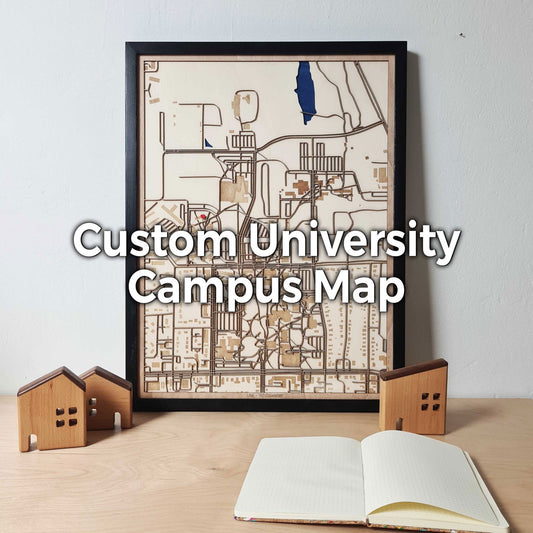
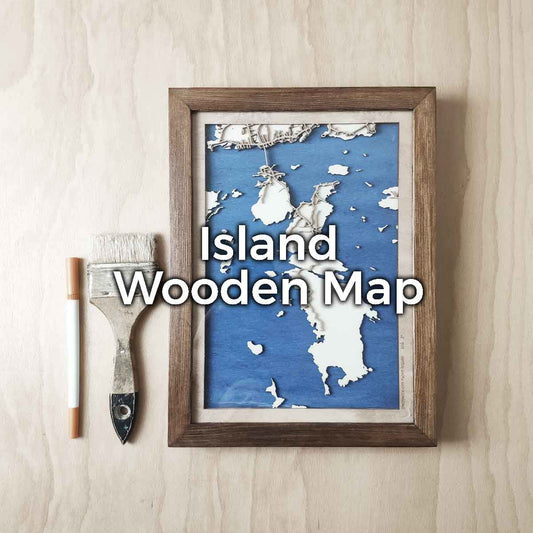
- Wood: Wooden 3D maps offer a warm and natural aesthetic. Laser cutting or CNC milling can be used to create precise shapes and layers, while hand-sanding and finishing techniques can enhance the overall appearance.
- Acrylic or Plexiglass: These materials provide a modern and sleek look, with the added benefit of durability.
- Metal: For a more industrial or high-end feel, consider using metals like aluminum or steel. Metal 3D maps require specialized tools and techniques, such as water jet cutting, laser cutting, or metalworking skills.
The techniques you'll use to create your 3D map art depend on the chosen material and your personal skills.
- Layering: Common techniques for creating 3D maps is to cut out individual sections of the map and layer them on top of each other.
- Carving or engraving: This technique involves removing material from a solid piece to create depth and texture.
- Assembling: Some 3D maps can be crafted by assembling individual pieces, like a puzzle or architectural model.
Keep the following tips in mind when crafting your 3D city map art:
- Start with a plan: Sketch out your design, considering the scale, layers, and materials you'll be using. This will help you visualize the final product and ensure accuracy during the crafting process.
- Measure twice, cut once: Double-check your measurements and alignments before cutting or assembling your map.
- Practice your skills: If you're new to a specific material or technique, practice on scrap pieces before working on your actual map.
- Be patient: 3D map art can be complex and time-consuming. Take your time and enjoy the process, making adjustments and improvements as needed.
By selecting the right material, mastering various crafting techniques, and following these tips, you'll be on your way to creating a stunning 3D city map art piece that will captivate viewers and showcase your craftsmanship.
6. Finalizing Your City Map Art
You've done it! Your city map art is complete! Display your masterpiece proudly on your wall.
Share your creation with us @thecitywood on Instagram. We would love to see it!